
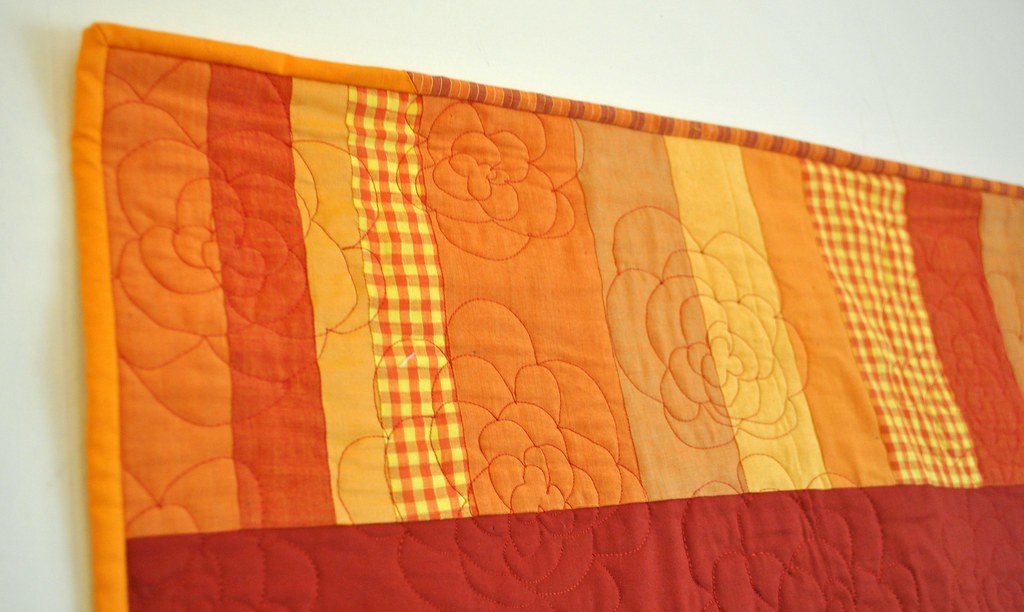
Challenge Quilt for March 2014: The color of your Birthstone or Birth FlowerI am a November baby so my birthstone is topaz (I hated how ugly it was growing up) and my birth flower is the chrysanthemum (ever read the book Chrysanthemum, by Kevin Henkes about the mouse? My favorite!). I decided to make a quilt inspired by both.
Make the quilt perimeter no larger than 240″ total. Suggestions or ideas (but not limited to) are: throw size quilt, wall hanging, baby quilt, jacket, bag or table runner, etc. The item needs to have the usual quilt construction, ie: 3 layers, with batting in the middle & quilted. The birthstone color and/ or birth flower must be listed on a tag on the front of the item for display. You can use just the birthstone color or just the birth flower color or both. Two other colors may be used in addition to the specific colors identified. There is a limit of 2 entries per member and they need to be completed.
The center stone is the Shine Bright pattern from Sarah at {no} hats in the house. I am huge fan of Sarah's work and am always inspired by what she makes. The greatest thrill for me was when she saw what I was working on on Flickr and commented on how much she liked it! Talk about a confidence boost!! This was my first time sewing curved seams as well. If I could go back and do it again I would add the background pieced to the center gem before sewing the gem together, but as it was, I had already removed all the papers and really didn't want to pick open all of those seams. So I improvised. I cut a circle out of the middle of my background fabric, slightly smaller than my gem, then pinned and sewed around the outside of the gem. It got a little wonky; there are a few ripples in the background fabric, but overall it worked!
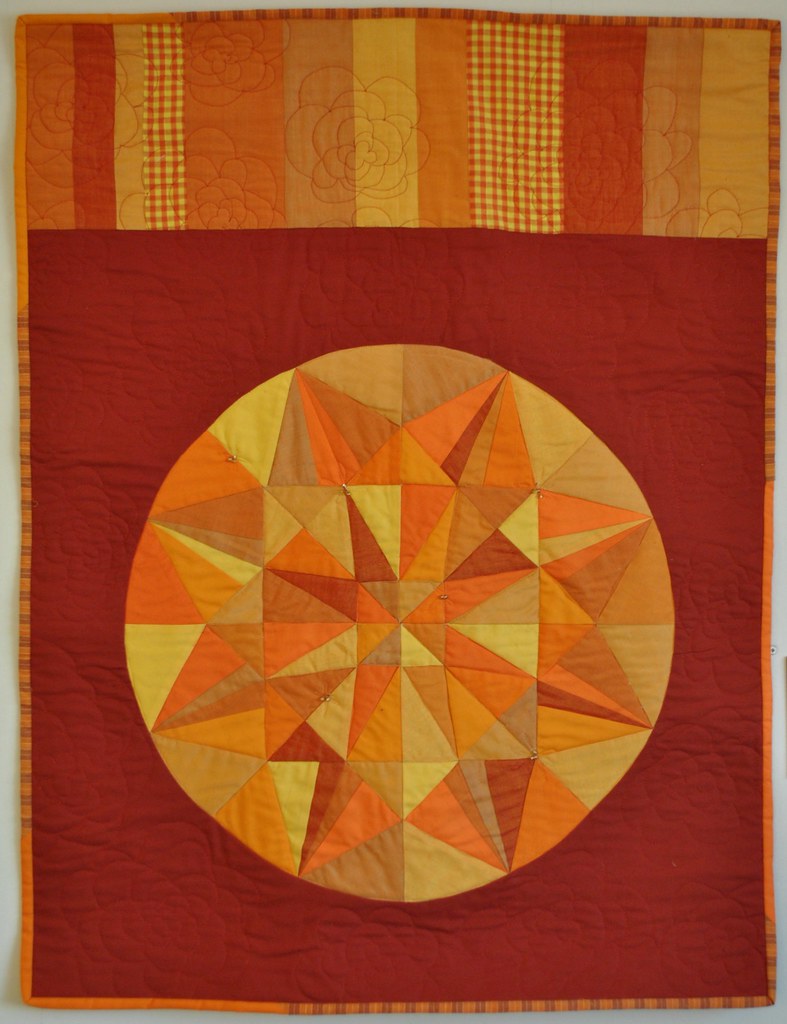
I quilted the background using the chrysanthemum quilting tutorial from Rachel at Stitched in Color using a dark red thread matched to the background color. I'm also a huge fan of Rachel's work. Her use of color is just amazing!

I did have some problems with tension while I was FMQ the flowers so the back of this quilt is pretty ugly. A quick, last-minute fix meant it was ready to display for the guild meeting but really I should have gone back and ripped out all of the background quilting and re-done it. Luckily this is a wall hanging, and we'll hopefully never see the back of the quilt.
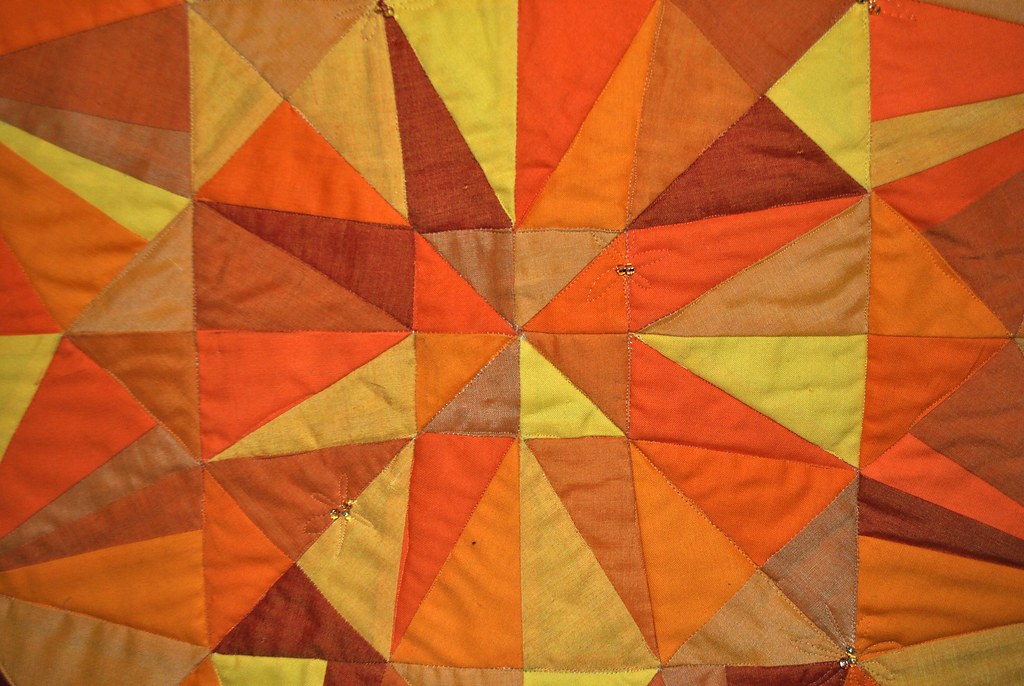
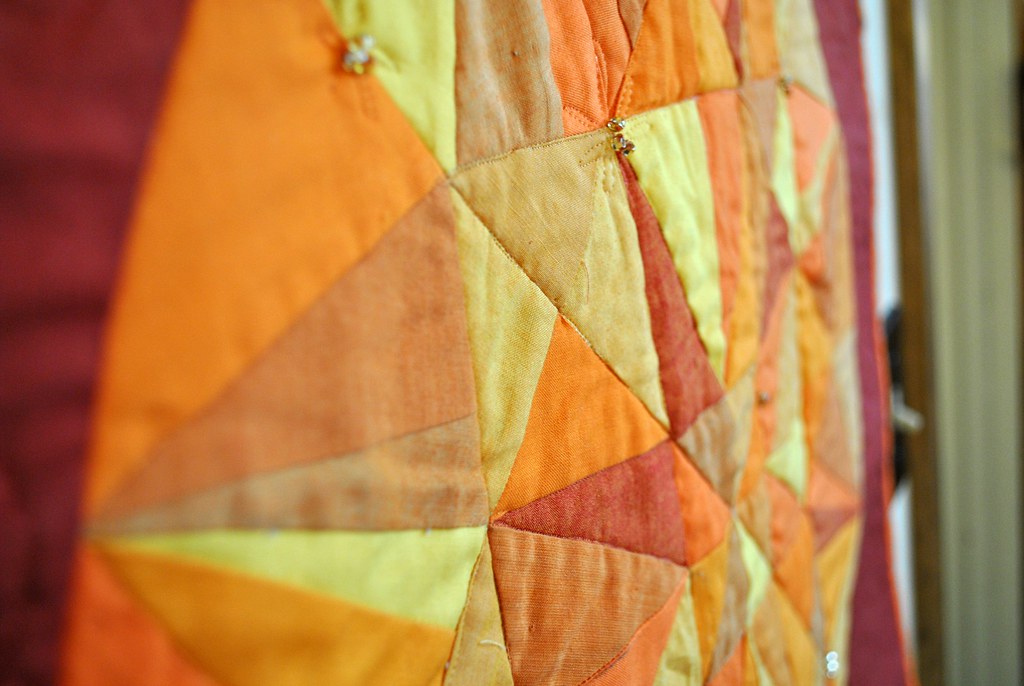
I stitched in the ditch of the gem stone, hoping to add some depth to the pattern without retracting from the overall design. This was my first time doing straight(ish) line quilting with my free motion foot. There are only a few minor deviations from straight so I'm really happy with the results. I'll definitely be revisiting this technique in the future. I also added some "sparkles" with my quilting and then sewed on some gold colored seed beads when I was finished to add to the shine of the gem.
Luckily I didn't win the challenge (I know you're saying "wait, what?!"). The winning quilters make up the body of the challenge quilt committee for next years challenge and with being President of the guild next year, I'm not sure I could have handled all that. The winning quilts were fantastic though!
 |
| Don't these look just like daffodils? |
 |
| Northern Lights inspired quilt |
Thanks for stopping by and happy quilting!
No comments:
Post a Comment
I love hearing from you!