Friday, February 28, 2014

Modern Double Cross Block {a Tutorial}

I am the Queen Bee for the month of March over at We Bee Learning and for my month I asked my bee mates to make modern double cross blocks in either 12.5" or 6.5" sizes  While there are lots of tutorials for modern or wonky cross blocks I didn't find quite what I was looking for so I decided to improvise and this is what I came up with.


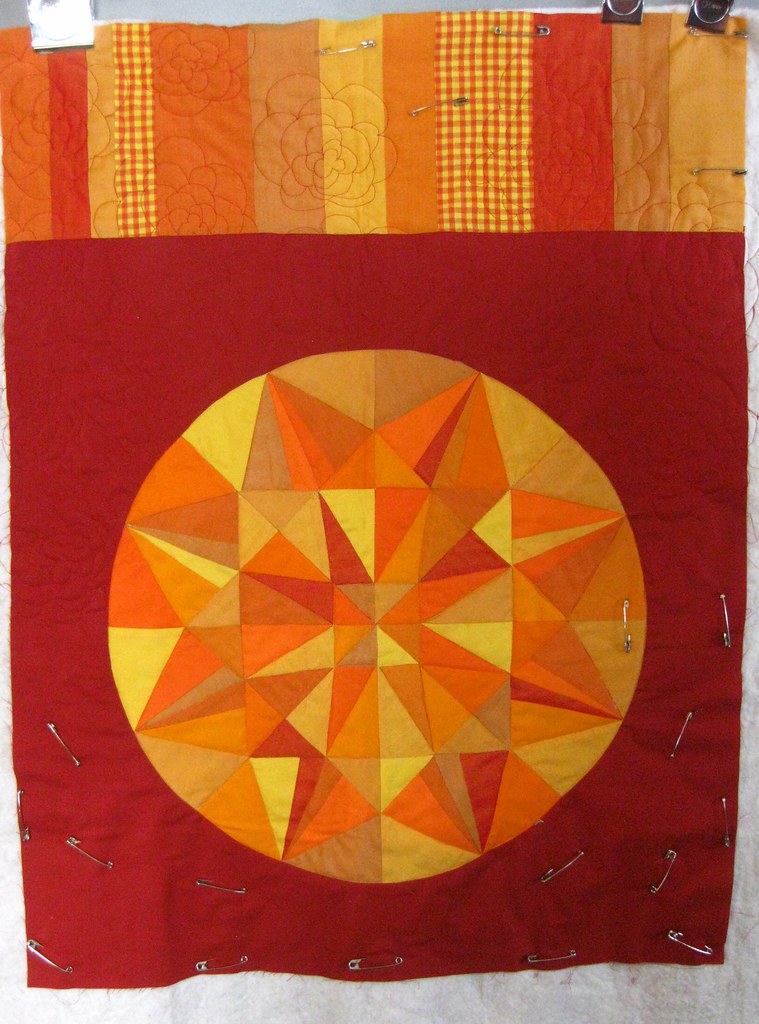
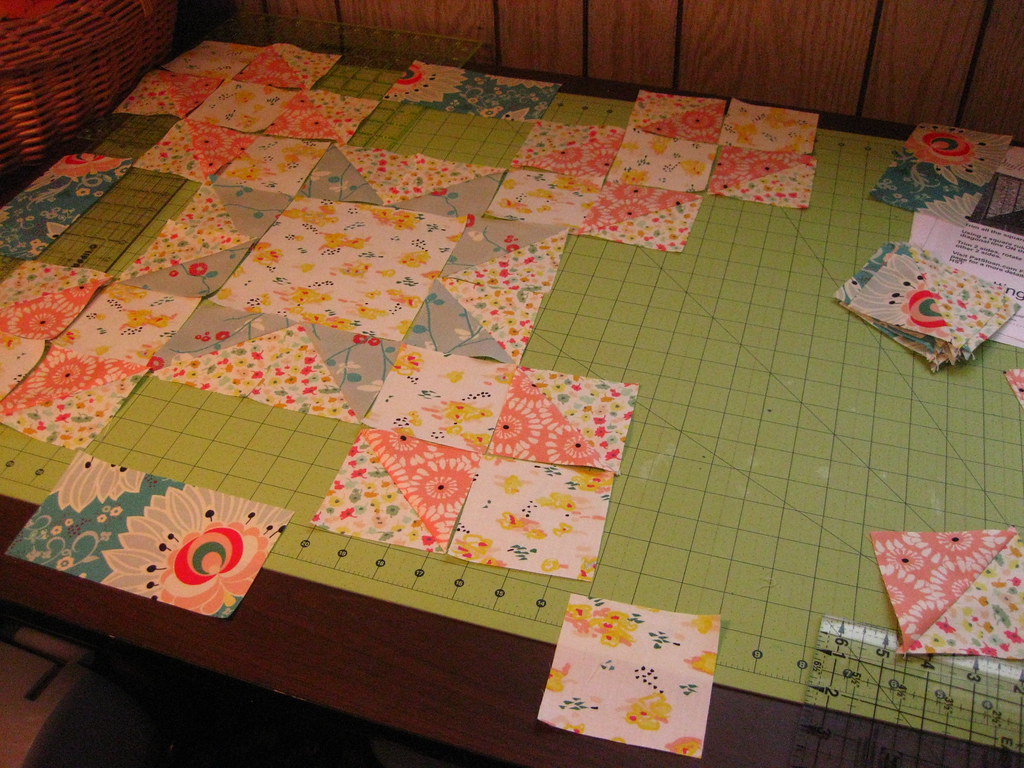
I also figured I'd share with you how I made them.

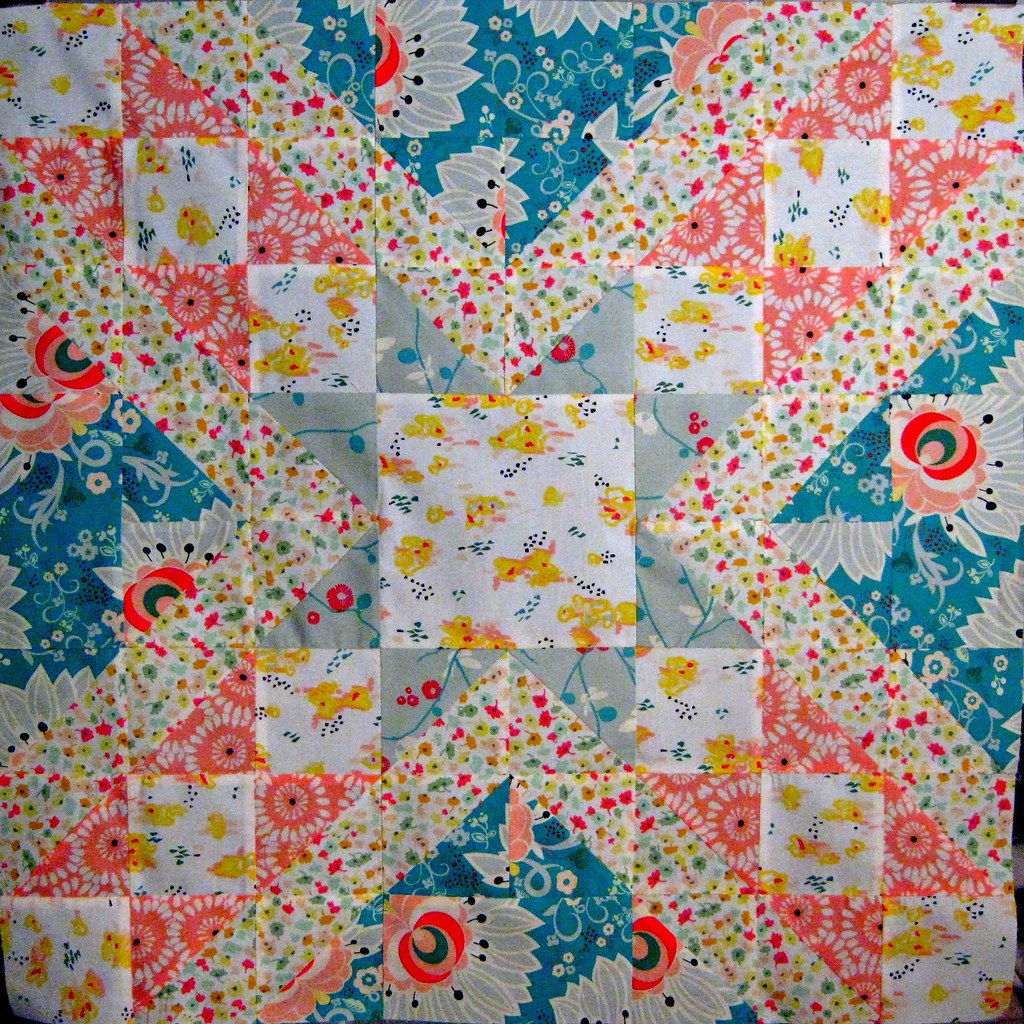
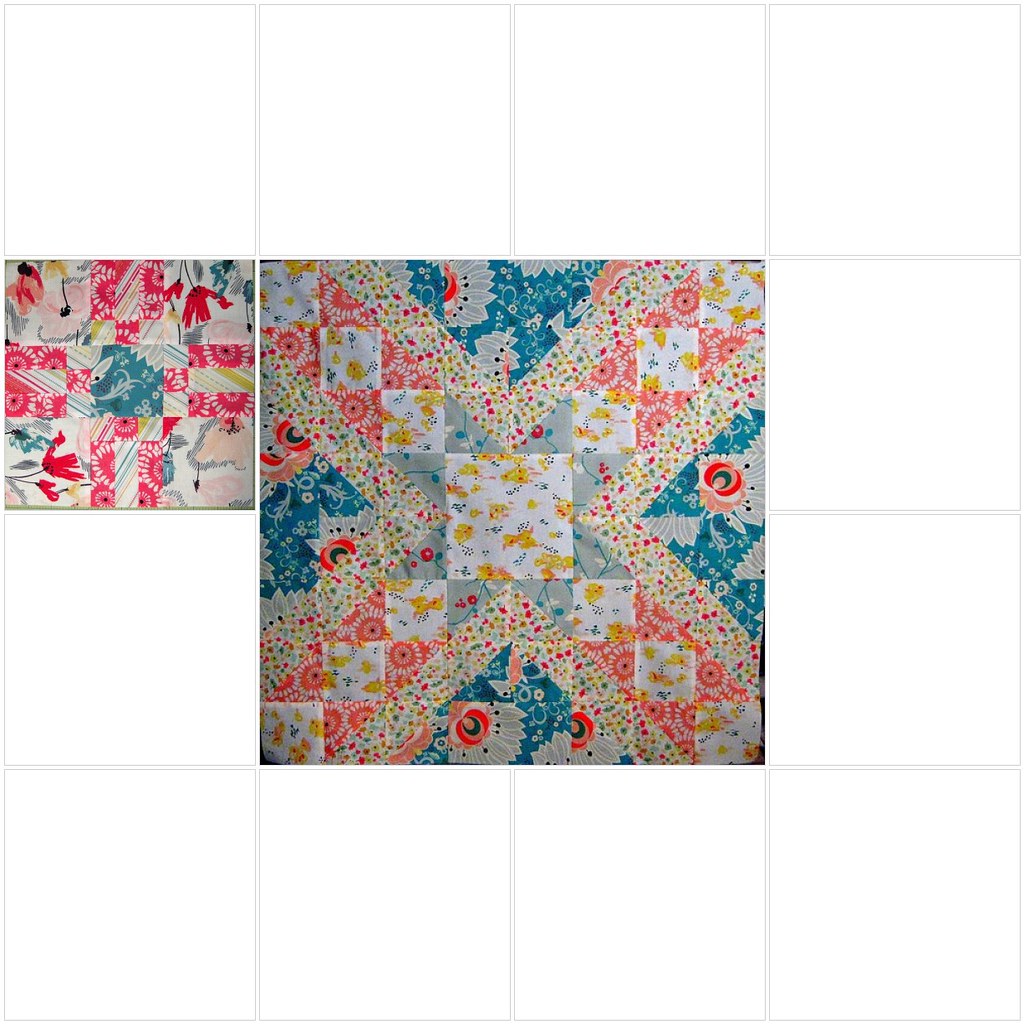
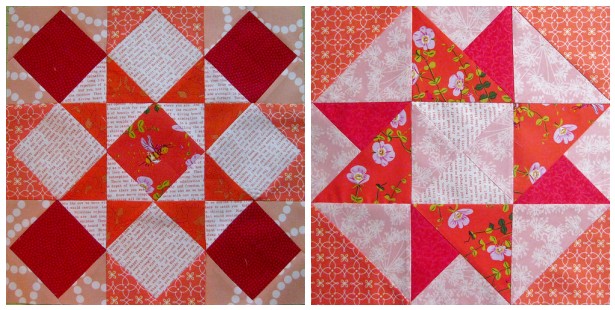
MODERN DOUBLE CROSS BLOCK

You'll need: (12" Finished block)

  • one background block (I started with a 12.5" block)
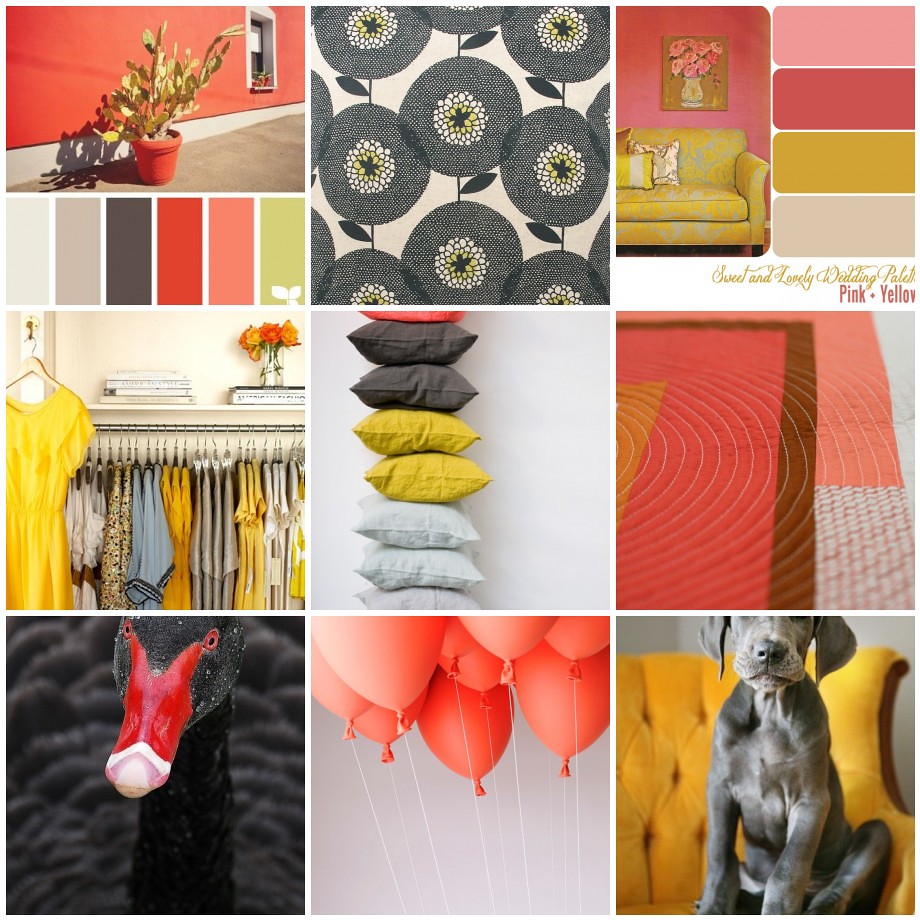
  • several strips (2"-4" in width) of Accent Color 1 (I used orange) at least 2" longer than your base block
  • several strips (2"-4" in width) of Accent Color 2 (I used navy) at least 2" longer than your base block
  • Rulers, Sewing Machine, Rotatory Cutter
Start by taking your ruler and laying it at the desired angle across your background block.  Remember, the more angle, the wonky-er your block will be.  Cut the block.  Take one strip of your Accent Color 1 and sew the strip into the opening, taking care to try and keep your outside edges lined up (sorry, I didn't take photos of this part).  Press your block.


Now take your block and lay it on your cutting mat with the stripe you just sewed in facing horizontally.  Take your ruler and lay it at the desired angle across your background block.  Remember, the more angle, the wonky-er your block will be.  Cut the block.


Take the second strip of Accent Color 1 and sew it into the opening, this time, taking care to make sure your edges of the cross line up.  Press your block.


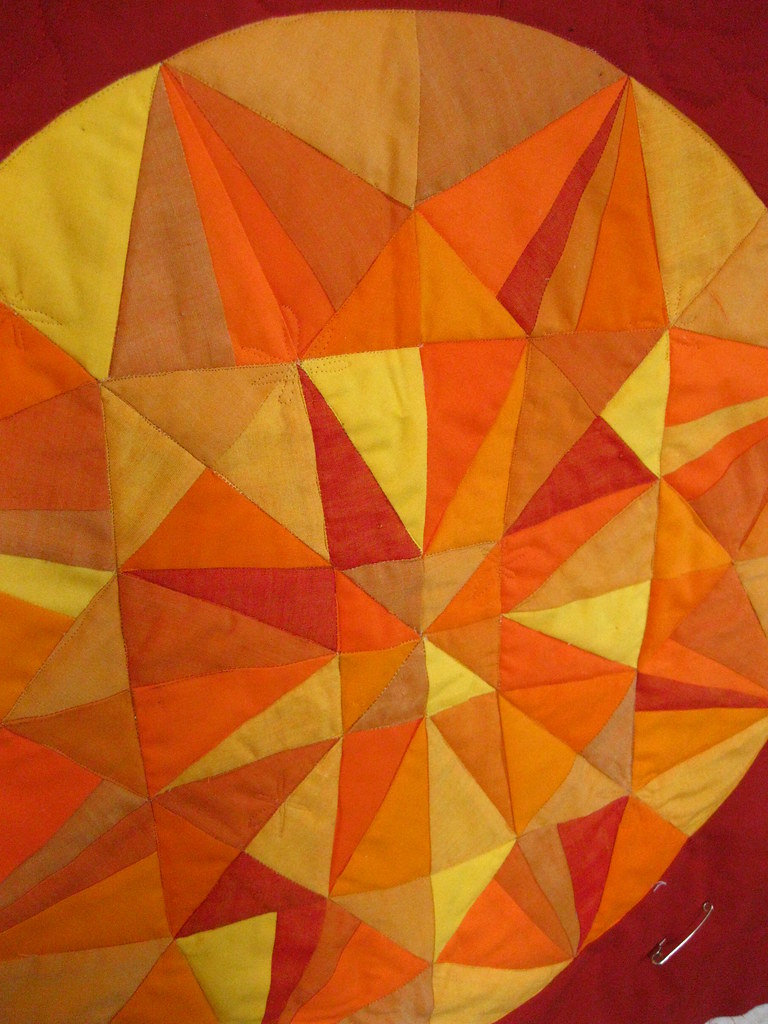
Congratulations.  You just made a wonky cross block.  BORING (at least for the purposes of this tutorial!).  Take your block and line your ruler up in the middle of the first Accent Color 1 Section.  Cut down the middle.  Want a wonky-er block, cut the line so it ISN'T parallel to the first cross.  Sew your sections together with a strip of Accent Color 2, again, taking care to line up the center sections of your cross, and press your block.


Lay your block on your mat so that the section you just sewed is horizontal.  Take your ruler and cut the block at the desired angle through the remaining Accent Color 1 section.  Sew the strip of Accent Color 2 into the opening and press your block.


You now have an untrimmed Modern Double Cross Block.  


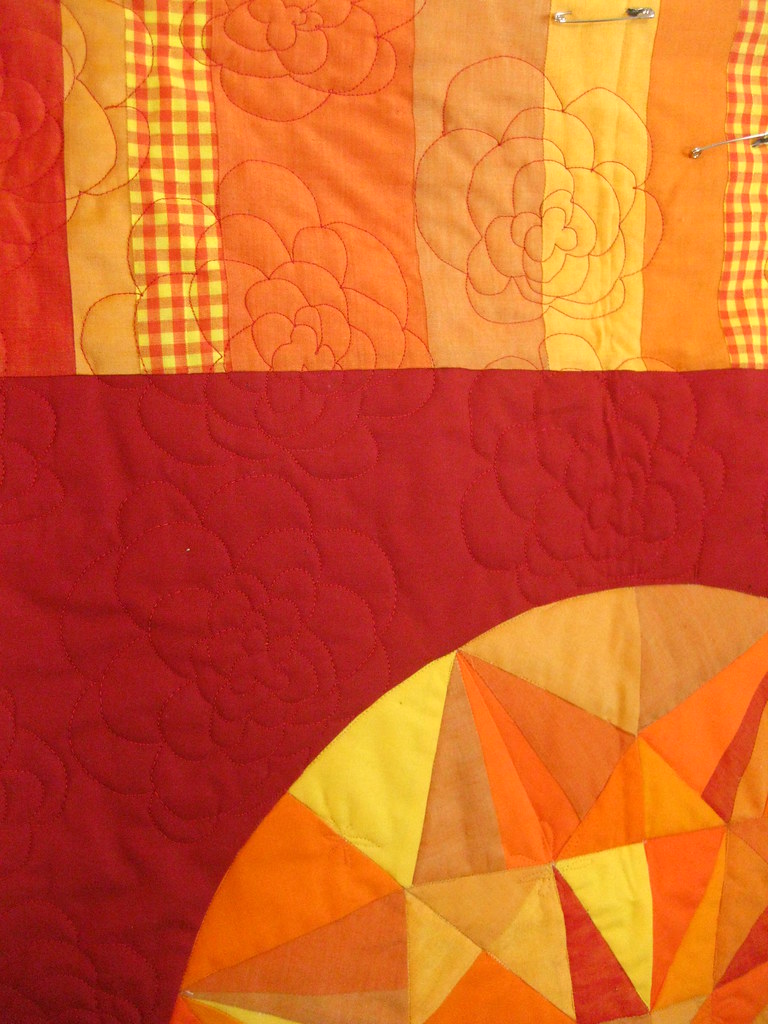
Trim your block to the desired size and you're done.  My block ended up being about 15" before I trimmed it.  You could start with a smaller block but I didn't want to risk coming up short on the finished product.  I also decided it would be fun to make these in half-size to finish at 6" square.  I didn't take pictures of that process but it's the same thing with smaller starting background blocks and skinny stripes of fabric (on average)


What do you think of these blocks?  Would you use them in a quilt?  What about the tutorial.  What would you find helpful that I left out?  I'd love to hear your opinion.

Happy Quilting!


Thursday, February 27, 2014

A new month of block swaps

I am excited to be starting a new month of quilt block swaps over on Flickr in the Sew Pieceful group.  This is a month by month group that you can drop in and out of as you like.  In February I received the blocks I needed to finish up my [ Red - Orange - Green ] color palette quilt(s) and will be posting pictures of those soon.


For March I'll be working with a new color palette, inspired by this photo:


Pinks, Greys, and Yellows.  Preferably from the warmer tones of the color spectrum.  This is the mosaic I worked up in this palette that I'll be sharing with my bee mates for inspiration.  Apparently pink is experiencing a resurgence in popularity in my life. Pretty much every quilt I'm working on or planning has pink in it.  I guess we'll have to wait and see what my husband thinks about all this pink.  I also started a pinterest page based on this color palette because I couldn't fit all of my inspiration into just nine images.  Can't wait to see how this quilt will come together!


Wednesday, February 26, 2014

WIP Wednesday - Challenge Quilt


I'm making progress on my challenge quilt.  This weekend I sewed the paper pieced center to a dark red background.  Not my favorite but I'm limited by the challenge in the number of colors I can use (only three).

This was my first experience sewing curves and though it isn't 100% beautiful and perfect I'm happy with how it came out.  It lays flat and there's only slight puckering around the edges.

I ended up taking my background fabric and cutting a large circle in the middle of it then pinning and sewing all the way around the paper pieced medallion.  Not the easiest method but I had already removed the papers and didn't want to risk warping the gem center.  For future reference I would probably finish each section in quarters then sew the whole thing together.

For added interest I used some the remaining oakshotts and added a simple pieced border to the top of the panel.


I started out by stitching in the ditch of the gem with my FMQ foot to highlight the center star and the diamonds created in the outer rings of the gem.  I also added some little "sparkles" through out the gem.  I plan on finishing them with some hand quilting in metallic thread and adding some shiny seed beads to help the quilt shine (pun intended).


Since the theme is birthdays I decided to FMQ chrysanthemums (November's flower) onto the background in a dark red thread using a tutorial by Rachel at Stitched in Color.  This is my first experience free motion quilting on my new Janome sewing machine.  So far I'm incredibly happy with the outcome.


  I'm linking up with this weeks WIP Wednesday over at Freshly Pieced.

Monday, February 17, 2014

I have a confession to make...

I lied to you.  Remember this photo?

Well I told you that I was going to hand quilt one and machine quilt the other.  I didn't.  

I planned on it...but I didn't.
I planned on making two different, unique mini-quilts then letting the intended recipient choose one of them (and I would keep the other)...I'm not.

Truth is: I finished the first hand quilted mini and fell and love.  And the thought of having to part with it and being STUCK with a machine quilted version ..... well that was not an option.  So I hand quilted them both.

Can you forgive me?


I used up the larger left-over scraps to piece the backings on both quilts. And bound one in a solid, light green and the other in a citron/chartreuse print on white.


I am so incredibly pleased with how these both came out.  The hand quilting add just the right amount of texture to the quilts and scales down the "modern, wonky" factor.


And I used my favorite method for hanging mini-quilts, fast triangles sewn into the binding and a small dowel.   It's so easy to do.  Just grab a square piece of scrap fabric and press it in half, wrong-sides together.  Then after you've sewn on your binding, place the square into the corner and trace the binding stitching to sew it down.  To hang your piece, grab a dowel and cut to length.  Easy peasy.  


The best part about these quilts?  First one's I got to sign as Jennifer Fullerton.


I'm linking up with Stitch by Stich for anything goes mondays.


Happy Quilting!

Wednesday, February 12, 2014

WIP Wednesday- Wonky Pinwheels


On Monday I posted about the wonky pinwheel blocks that we were asked to make for our February Queen Bee over in the We Bee Learning Flickr bee.  I had so much fun making them that I decided to stay on that theme and make a mini-quilt using the same pattern.  Since I already had my aqua, blue, green, grey, and yellow scraps out I decided to stick with the same color palette too.


I started by cutting 62 - 2.5" foundation blocks with the intention of making one larger mini-quilt finishing at approximately 16" square.  But I got to piecing and realized that I didn't care for the large, square design.  So I decided to go with a 4x8 block layout.  The problem with this is that I had a bunch of half pinwheels along the edges and didn't really care of that either.  So I cut and pieced another 56 half pinwheel blocks to complete the edges.  You can see them in the picture below.  I'm so much happier with this layout.  It makes the quilt feel more complete to me.  This brings the approx. finished size to 12" x 20".


Once I had my tops pieced I had two roughly identical mini-quilts so to help make them stand on their own I decided to hand quilt one (in a fit of insanity, most likely) and machine quilt the other.  These pictures are obviously the hand quilted one.


I've never done ANY hand quilting before so this is really more of an experiment than anything else.  I had some nice light aqua cotton thread that I started quilting it with but I really wasn't happy with how it looked.  The stitches didn't stand out like I wanted them to...so I picked them out and went to the store to pick up some Pearl Cotton the next day.  I decided on some light green and aqua pearl cotton #5 and I'm much happier with how it looks.


I'm simply following the lines of the pinwheels in either green or aqua, using a random placement of each color.  And yes, my stitches aren't perfect, but I feel like this is a good introduction to hand quilting and I'm really happy with how they look!  I think that next time I'd invest in a good hand quilting hoop for this.  I'm just using an embroidery hoop that I had on hand and it stretched the quilt a little too tight to make the quilting easy.


Tonight is our monthly quilt guild meeting and I'm excited to show off the incomplete quilt at show and tell!  Maybe I'll get some hand quilting tips too!  Once I have pictures of the other version I'll share that here too.   I'm linking up with this weeks WIP Wednesday over at Freshly Pieced.


Happy (Hand) Quilting!

Monday, February 10, 2014

Dear Jane

This fall I had an amazing opportunity to go on a bus trip with my local quilt guild.  It was so much fun!  We stopped at several fabric shops and a quilt show but by far the highlight of the trip was visiting the Bennington Museum to see the original Dear Jane quilt.  They were celebrating the quilts 150th anniversary.  (Sorry in advance for the fuzzy/dark photographs.  The quilt was in pretty low light).


If you aren't familiar with the Dear Jane quilt, all you have to do is Google it to find thousands of samples of quilters who have recreated it and a whole webpage dedicated to the quilt itself.

The Dear Jane quilt was made in 1863 by Jane A. Blakely Stickle who was born in Shaftsbury, VT on April 18, 1817.


The description plate next to the quilt read:
During the past few decades this miraculous medley of fabric, known lovingly as the "Stickle quilt," has garnered international fame.  Though acquired by the museum about 1938-1939, the quilt only slowly began to garner attention in the 1980s and was first published in Plain and Fancy: Vermont's People and Their Quilts As a Reflection of America by Richard L. Cleveland and Donna Bister in 1991.  In 1996 Brenda Papadakis immortalized the quilt in her book Dear Jane: The Two Hundred Twenty-five Patterns from the 1863 Jane A. Stickle Quilt.  Of course, the quilt's story runs deeper than its recent fame, back to 1863 when Jane A. Stickle lovingly pieced together the 169 small blocks that make up the quilt's body and 112 "ice cream cone" blocks that comprise its unique scalloped border.  Stickle knew she had created something to be proud of, carefully inscribing in the lower right corner: "In War Time, 1863.  Pieces, 5602. Jane A. Stickle." ....


What I found most fascinating about the Dear Jane quilt is not actually the quilt itself.  It's the woman who made it.  Did Jane know that 150 years after she finished her quilt I'd be sitting there looking at it?  Did she wonder about who I would be the same what that I wonder who she was?  I want to know what she was thinking and what she was feeling while she stitched her masterpiece?  What would she think today about all of the version of her quilt that have been made?  Would she approve?


There was also this interesting follow up to her quilt in which we discover that Jane actually won $2.00 for her quilt at a quilt show.


A few of my favorite blocks:


All in all, I really enjoyed this visit to the museum and having the opportunity to just sit in the quite darkness of the museum and simply observe Jane's masterpiece and wonder about who she was as a woman.  I do have plans to make a Dear Jane quilt though I guarantee you that mine will not be hand pieced.  Who knows, maybe 150 years from now some other girl will be sitting in a museum quietly observing one of my quilts and wondering about who I was....

I also had a total fan-girl moment with the quilt and took a selfie with the quilt (you know, proof that I was there).


Happy Quilting.

Saturday, February 8, 2014

February We Bee Learning Blocks

I had another productive Saturday (and it's not even over yet!).  I worked on blocks for the February We Bee Learning queen bee: Christine.  She asked for wonky pinwheel blocks in green and aqua with accents of grey and yellow.  We used a tutorial by Greenleaf Goods that was super easy to follow.  At first I had a hard time getting into the blocks but once I figured out my rhythm they went quickly.  I hope Christine likes them!


I liked making these so much that I jumped right into working on two mini quilts using the pattern adjusted to 2.5" foundation blocks instead of 3.5".  One will be for me and one will be a gift for a friend who's always 'complaining' about not having a quilt!

I also have to share this advice from Singer, circa 1949.  Thank you to my sister-in-law for sharing it with me.


I laughed out loud when I read it!  How many of us are guilty of sewing over doing dishes or laundry or cooking dinner (I'm guilty!).  I also must confess that I didn't bother putting on real pants on Saturday... sweatpants for the win!  Luckily my husband doesn't care if I'm a hot mess when he gets home, covered in thread and band-aids (because I changed my rotary cutter blade that day).

I did however, give up sewing time on Sunday night to clean our kitchen after we got out stove and fridge in!  We've been without for quite a while, so I was pretty pumped!

I'm linking up with Stitch by Stich for anything goes mondays.


Happy Quilting, let me know if you find French Chalk!

Thursday, February 6, 2014

Globe Trotting with Pat Sloan


squarebutton2.jpg

As if I didn't have enough going on already.  I joined another Block of the Month Quilt Along.  This one, hosted by Pat Sloan, is called Globe Trotting.  This is a free Mystery Block of the Month program.  Each block in the nine-block series is designed by Pat Sloan and will come complete with a free pattern, tutorial, and a video demo by Pat.


At first I wasn't sure what I should use for colors for this quilt.  I debated using the Peach - Coral - Orange color palette that I'm using for both the Sugar Block Club and the Auriful BOM but I worried about burning out on that theme before the end of the year so that wasn't an option.  Then I remembered that I had gifted myself a fat quarter bundle of the full Rapture collection, by Pat Bravo at Christmas time and thought it would be perfect (plus I was feeling kind of lazy and didn't want to take out all of my fabrics to pull together a bundle for this project).  Win-Win.

You can find the full bundle at Pink Castle Fabrics.


So off I went choosing and cutting and piecing.  If I thought that trimming all of the HST's for the February Auriful Block was hard, man, was I mistaken.  The January Globe Trotting block, called Washington, DC, is made up of 40 HST's.  That took some time.


Over all, I'm very happy with how the January Block came out.  the pattern does get a little lost with the Rapture prints but I'm thinking that with some thoughtful quilting it will turn out just fine.  This finished block measures about 22" square and rest of the quilt will be set up as a border around this focal block.


Since I was on a roll I started on the February block as well.  This one is called Venice, Italy.  It finishes at 10" square.  It was an easy block.  I had fun choosing the fabrics for this block too.  I decided to use one of the larger focal prints from the Rapture collection, Wild Beauty in Saffron.  And because this is too good to not share, Here is what Pat has to say about this print:
"She goes by her first initial. She is fearless. She is sophisticated. She loves to sketch with markers and have a glass of wine while reading her latest vintage-find. She dares to wear bold prints with bright-colored hues of lemon, red, and blue. She loves to be raptured by the beauty in everything she sees and wears her heart on her sleeve."
What a great description of the fabric and the woman who inspired it!


Here's my final layout as of February.  I think its going to make a very fun quilt.  It will be colorful and vibrant without being weighted down by that very same color.  And if I finish it in time (and get enough pink into it) I think I know who this finished quilt will be gifted to.


Happy Quilting!

Wednesday, February 5, 2014

Works in Progress

I think I mentioned earlier that I'm participating in several block of the month (BOM) quilt-alongs this year.

The first one is the Sugar Block Club, hosted by Amy at Stitchery Dickory Dock.  This is my first year participating in the BOM and already I'm sold.  Every month we get a pattern for a, as Amy puts it: "traditionally rooted block, full of lovely vintage charm, but truly fitting with nearly every aesthetic.  In a word, timeless", as well as a yummy dessert recipe and, new this year, Beyond the Block words of wisdom from Amy designed to help you reflect throughout the year.

January's block was beautiful and the Beyond the Block challenge last month encouraged us to Be Intentional.  I've already found that I'm doing better.  You can see my post about the January block here.  February's block, Mercy, is actually a very simple design made fantastic through careful color placement.  Check out the Sugar Block Club Flickr group for more beautiful examples of the block.


Amy also shared a very personal story about Mercy that really hit a nerve with me.  There are points in life when we are not at our best and sometimes it's due to circumstances that are outside of the realm of our control.  It is at these moments, when we are at rock bottom, that we need to be shown mercy.  Maybe I snapped at you because you just asked me for the fifth time when your report would be ready, but what you didn't know is that I'm dealing with a very completed and painful family situation right now...  doesn't make my reaction right but a little understand and mercy could have gone a long way.  At the same time, its important for me to show mercy to others.  I have to admit that sometimes I am guilty of getting snippy with the lady at Dunkin' Donuts because she occasionally messes up my coffee in the morning.  But what I don't know is if that woman is raising three kids alone or if she's about to lose her house, or if her husband just got laid off from work.  I don't know.  I can't know that.  But I can smile and say, "no problem, that's alright.  I like a hot latte as much as a cold one." So I'd encourage you to maybe pause for a moment before you yell at someone or honk your horn and think what is this person dealing with today?  I'm going to try to do the same.


January (right) and February (left) Sugar Block Club blocks

Enough of the heavy stuff..... The second quilt-along I'm participating in this year is the Aurifil Block of the Month.  You can find the monthly posted FREE patterns linked to on the Aurifil Flikr Page.  February's block was actually designed by AMY of Stitchery Dickory Dock!  Check out her interview with Pat Sloan and find her block pattern here.  Amy's block design this month is called Mother's Day and was inspired by her mother.  You can find my posts about January's blocks here and here.


This was a fun block to make.  It's all half square triangles.  I think the thing that took me the longest was TRIMMING all of them (and there were only 16...)  I need to get one of those rotating cutting mats.  It would make my life immensely easier, at least when it comes to trimming HST's.


January (bottom) and February (top) Aurifil blocks
I have one more BOM quilt along to share but it will have to wait for another day!  For more pictures of what I'm working on currently be sure to check out my Flickr photstream!  I'm linking up with this weeks WIP Wednesday over at Freshly Pieced.


Happy Quilting!


Monday, February 3, 2014

Bee Blocks


I had such a productive sewing weekend!  My husband just started a new job and was away most of the weekend so it freed up plenty of time for me to sit at my machine and jam to the music on the radio and just sew....  ahhhhhhh.........

I signed up for another round of Sew Pieceful, a monthly block sway on Flickr and got my assignments on Friday so I sewed up a test block and pulled some fabric for my  February swap mates.


I decided to use the Christmas Snowflake Block posted earlier in January by the Seattle Modern Quilt Guild.  They are doing a block of the month for 2014 and this was the modified 12" version they shared.  The original is a scrappy 20" version.  This person requested Red and Grey on Black or Text backgrounds.

I pulled rainbow colors for another swap mate to be put on a black background also:


Another swap mate asked for Purple, Yellow, and Orange on low volume backgrounds and I just happened to have this fabric I just picked up!  Isn't it perfect for the background?


I've got more to share but it will have to wait until tomorrow!  I'm linking up with Stitch by Stich for anything goes mondays.


Happy Quilting!